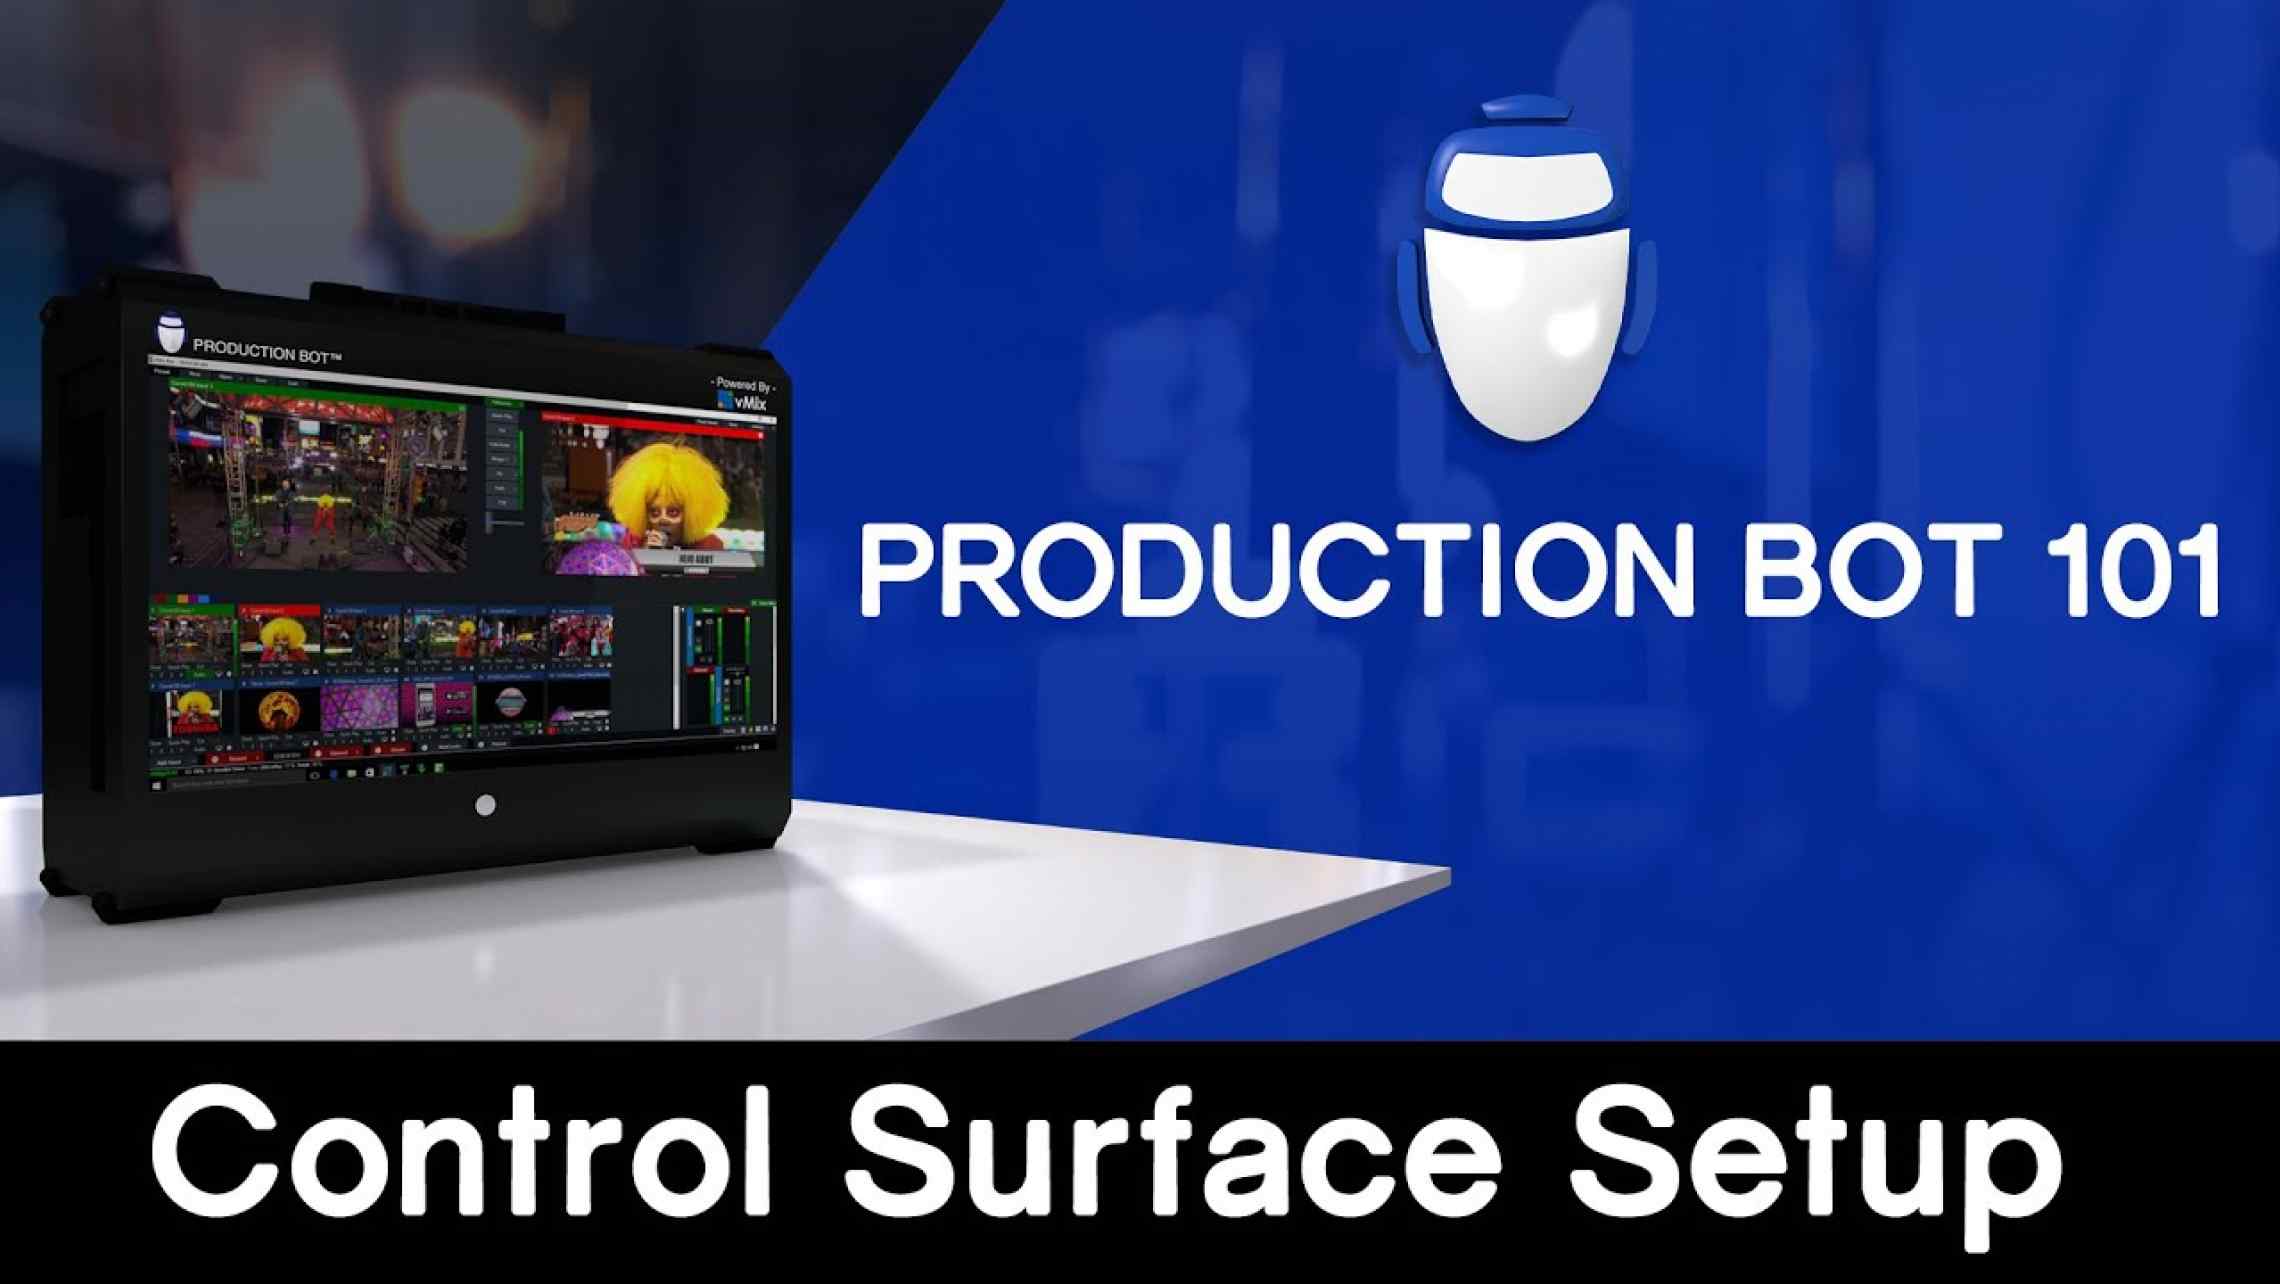
Production Bot 101: Setting Up Your Control Surface
In today’s episode of Production Bot 101, we guide you on how to set up your Control Surface and go over some of its functions.

The first thing to do is download the Control Surface driver. Once installed, connect the switcher to your Production Bot’s Motherboard via USB.

Using Your Control Surface
On your Control Surface, you will find six rows of buttons. Understanding what these buttons do will help you take advantage of all the functions your Control Surface can perform, and take your production to the next level.
The bottom row contains your Preview buttons. They light up green when you press them, and will place the source you select on Preview.
On top of that row, you will find your Program buttons. They turn red when pressed, and will place the source you select directly on Program, which means it will be live.
The first row contains your Overlays. These are referenced by the DSK delegation section, located on the top right of the Control Surface. The DSKs can delegate which Overlay you’ll use, and can also determine which specific transition will be used with the Overlay you selected.
Below the DSK buttons are the Soft Keys. These can be set up to perform any function, such as a fade, start record, etc. To set them up, follow these steps on vMix:
- Select “Settings” and navigate to “Shortcuts.”
- Select “Add” and then select “Find.” This will listen to any key you press on your Control Surface and assign it to a shortcut. Click “OK” to save, and then select any function you’d like it to perform. Whenever you hit that specific button, it will perform the function you assigned.
Next is the ALT button. It has a few different functions, but our favorite is previewing an overlay. To do this, press the ALT button and then the Overlay of your choice, and it will appear on Preview. To remove it, press the selected Overlay button again.
On the bottom right is the transition section.
- Fade to Black: fades both audio and video, unless you select to keep audio on in vMix. Program will not display black, but as long as “FTB” is blinking red on vMix, you are in black.
- Auto 1 and Auto 2: attached to the first two transitions on vMix. These can be changed by selecting the drop down menu next to them and choosing another transition option. You may also change the duration of the transition there.
- Take: cuts between Preview and Program.
Finally, on the far right is the T-bar. It is great for any manual transitions and will perform the transition that Auto 1 is set to.